- An ISO Certified Company
What Is Projector Throw Distance? A Guide to Projector Placement for Home Cinemas
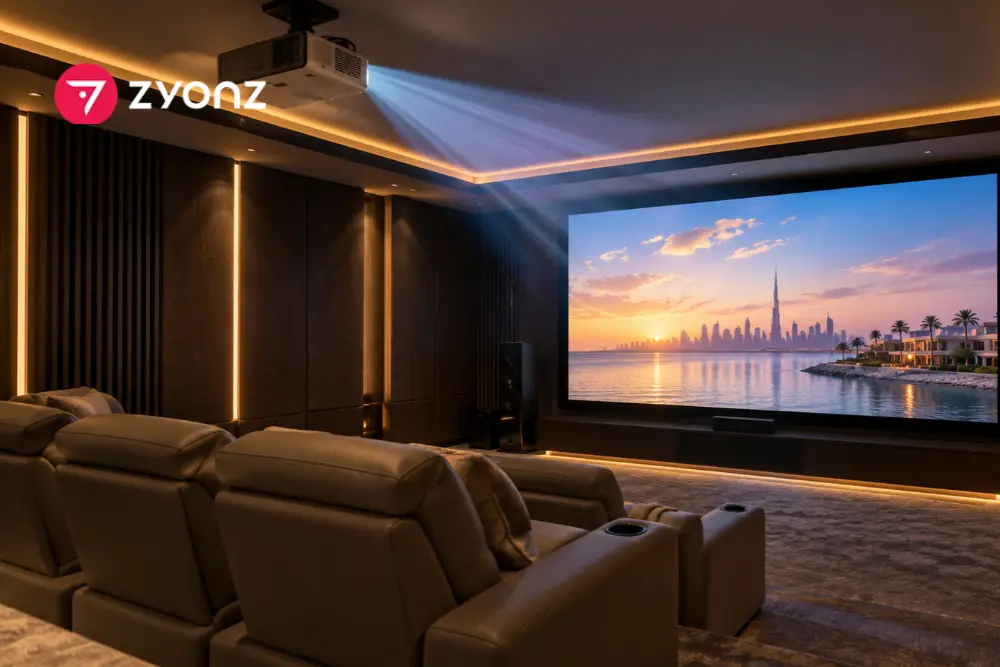
The sofa is in, the speakers are wired, and the projector finally comes out of its box. You power it on and the picture is half the size you imagined, or so big it climbs onto the ceiling. Nothing is broken. Nobody measured the one thing that mattered. This guide explains that measurement in plain terms, so you can plan your room before you buy or drill anything.
What Is Projector Throw Distance?
Think of a torch pointed at a wall. Stand close and you get a small, bright circle. Step back and the circle widens and fades. A projector behaves the same way. Throw distance is how far the lens sits from the screen surface, and it decides how wide the picture becomes.
Each projector can only deliver a sharp image across a certain band of distances. The manual lists that band for every screen size. Place the unit outside it and the picture either fails to fill the screen or never quite comes into focus.
Reading the Throw Ratio on a Spec Sheet
The number to look for is the throw ratio. It compares how far back the projector sits with how wide the picture is. Multiply your planned image width by the ratio and you have your distance.
Take a 120-inch 16:9 screen. It measures about 105 inches, or 2.66 m, across. A fixed lens rated at 1.6 would need to sit roughly 4.25 m away.
Zoom lenses give you room to move. A model rated 1.4 to 2.1 can fill that same screen from about 3.7 m to 5.6 m. If a ceiling beam dictates where the mount can go, that range may save the whole plan.
Which Lens Type Fits Your Space?
-
Standard throw (above 1.0): sits behind the seats and needs the most depth.
-
Short throw (about 0.4 to 1.0): works when the back wall is close.
-
Ultra short throw (below 0.4): sits on a low unit right under the screen, like a soundbar.
In a dedicated home cinema, rear placement keeps fan noise behind the audience and the beam above their heads. A short lens belongs in rooms where the back wall is too near to host a projector at all.
Picking a Screen Size That Suits Your Seats
Do not chase the biggest screen the wall allows. Start from where people will sit. THX suggests a viewing angle of about 36 degrees, which is roughly 1.5 times the screen width. On a 2.66 m wide screen, that puts the main row around 4 m back.
Sit much closer with a 1080p projector and you start to see the pixel grid. A 4K model tolerates closer seating because the detail is finer. Brightness plays a part too. A larger screen spreads the same light over more area, so the picture looks dimmer. Rooms that cannot go fully dark do better with a slightly smaller image.
Getting Height and Angle Right
Lens Shift Comes First
Lens shift slides the picture up, down, or sideways using the lens itself, so the projector stays level. Keystone correction does a similar job with software, and it slightly blurs fine detail. Use lens shift whenever your model has it, and treat keystone as a small touch-up.
Aim for the Middle of the Screen
When the lens points straight at the screen centre, edges stay even and focus holds across the whole picture. Sizeable offsets are possible on many models, but the manual’s shift limits are the boundary.
Sort the Wiring Early
Power, HDMI, and control cables should have a route before the plaster goes on. With the right interface, a KNX home automation setup can link the projector, motorised screen, lights, and blinds, so one button lowers the screen, dims the room, and starts the film.
Ceiling Mount or Table: What Works Better?
A ceiling mount holds your alignment, keeps the unit out of reach, and stops anyone from walking through the beam. Choose the spot during the electrical planning stage, along with any smart home automation cabling, because moving a mount point later is messy.
A table or rear shelf costs less and suits rented homes. The downside is drift, since a bump can knock the picture off the screen edges. Either way, leave open space around the vents, and keep filters clean because heat and dust shorten lamp and laser life.
Dark Ceilings, Better Contrast
Matte, dark finishes on the ceiling and side walls stop stray light bouncing back onto the screen, and the picture gains depth. A star ceiling installation suits this look well. Tiny fibre optic points glow before the film and can be switched off when it starts, so they never fight the screen.
A starlight ceiling installation needs a plan alongside the projector mount and the ceiling void. Agree both layouts on paper before the boards are closed.
Common Mistakes to Avoid
-
Buying first, measuring later. Compare the lens range with your room before paying.
-
Treating keystone as the fix for everything. It protects convenience at the cost of clarity.
-
Forgetting daylight. Sunlight can ruin a perfect layout.
-
Boxing the projector in. Closed cabinets trap heat and raise fan noise.
-
Pairing the wrong screen shape. A mismatched aspect ratio causes black bars or cropped edges.
-
Fixing the mount without a trial. Test with a temporary setup first.
-
Choosing a team that overlooks the picture. Some smart home companies are strong on lighting and sensors but weak on projector optics and acoustics, so ask about their cinema experience.
What You Gain from Planning It Properly
-
A sharper picture from corner to corner
-
Full use of the projector’s brightness
-
Less eye strain on long film nights
-
A clean room with hidden cables
-
Longer life for the lamp or laser
Tips from the Installation Floor
-
Run the manufacturer’s online calculator, because real lenses differ slightly from printed figures.
-
Keep a margin at both ends of the zoom range.
-
Mark the position with tape and watch a few minutes of content from there.
-
Focus after the projector has been on for about fifteen minutes.
-
Check the corners with a test pattern, not a dark scene.
The strongest home automation companies plan placement, sound, and control as one design instead of three separate jobs. In a home cinema villa with big glass walls or double-height rooms, planning for blackout matters as much as the throw distance itself.
Plan Your Room with Zyonz
Great viewing rooms come from small decisions made early. The next time a friend asks what is projector throw distance, tell them it is the gap that decides your picture size, and that most other choices follow from it. Measure, calculate, test, then commit. Zyonz is a home automation company in Dubai that designs and installs systems for villas, apartments, and commercial spaces across the UAE.
Building a cinema room? Our team manages home cinema installation in Dubai end to end, from projector placement and acoustics to lighting and control.
We also protect properties with a home security system in Dubai, built to work alongside the rest of your smart setup.
Ready to start? Visit zyonz.ae or contact Zyonz for a free consultation.
Your Questions Answered
Explore our frequently asked questions to find answers to common queries about our in Dubai. If you can't find what you're looking for, feel free to contact us for further assistance.
 Categories